RV Plate Sign Craft

  1. Take the supplies out of the bag and recycle the bag.
  2. Punch out the foam pieces from the foam blocks.
  3. Peel and stick the blue border to the bottom straight edge of the plate.
  4. Peel and stick the pink border above the blue foam border.
  5. Peel and stick the blue block onto the blue border.
  6. Peel and stick the green door above the blue block.
  7. Peel and stick the striped window onto the door.
  8. Flip the plate over.
  9. Peel and sandwich the foam trailer hitches to the right corner of the plate.
  10. Peel and stick the black circle to left side of the plate.
  11. Flip the plate over to show the side with the door.
  12. Peel and stick the wheel onto the right side of the plate to line up with the wheel from the backside of the plate.
  13. Peel and stick the windows onto the plate.
  14. Peel and stick the window curtains to the tops of the windows.
  15. Peel and stick the surfboard and flower to the plate.
  16. Use the double sided foam adhesive to attached the pom pom string to the plate.
  17. Thread the string through the hole and tie a knot.
  18. Display your awesome creation in your favorite space!
Before After

Order this Craft!

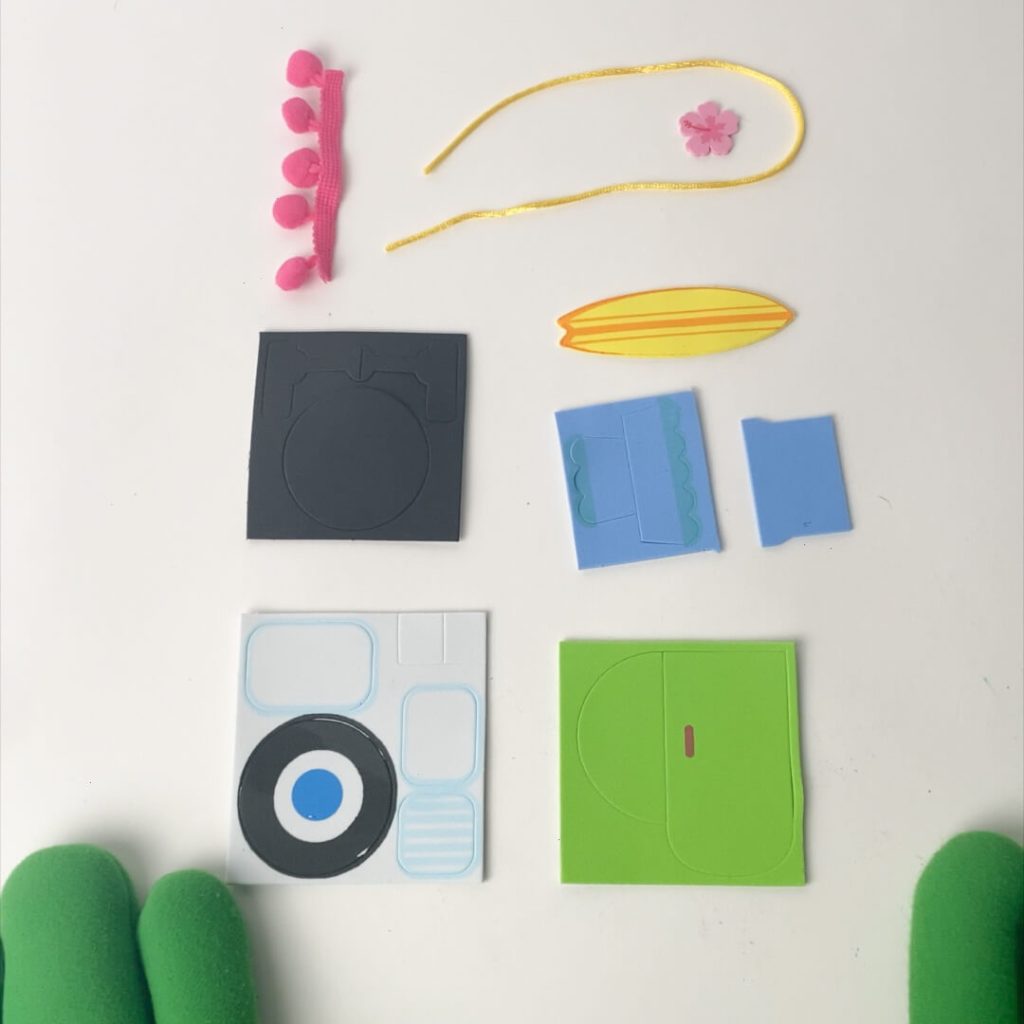
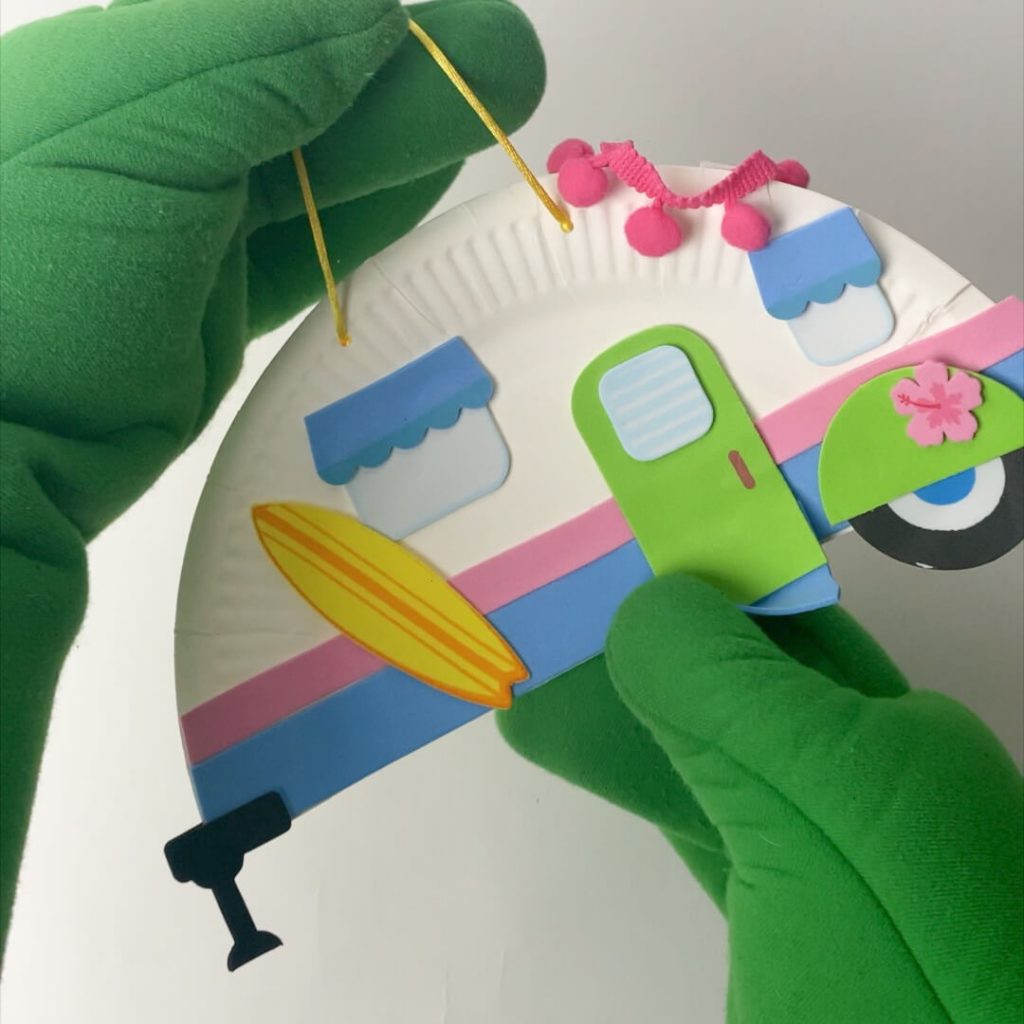
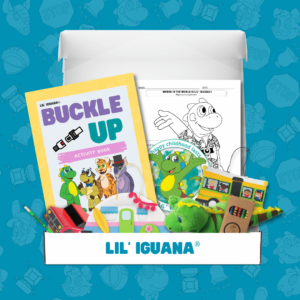
Don’t have this craft yet?  Order it in one of Lil’ Iguana’s Safety & Well-Being focused activity boxes.  

Shopping Cart
Scroll to Top

This website uses cookies to ensure you get the best experience